

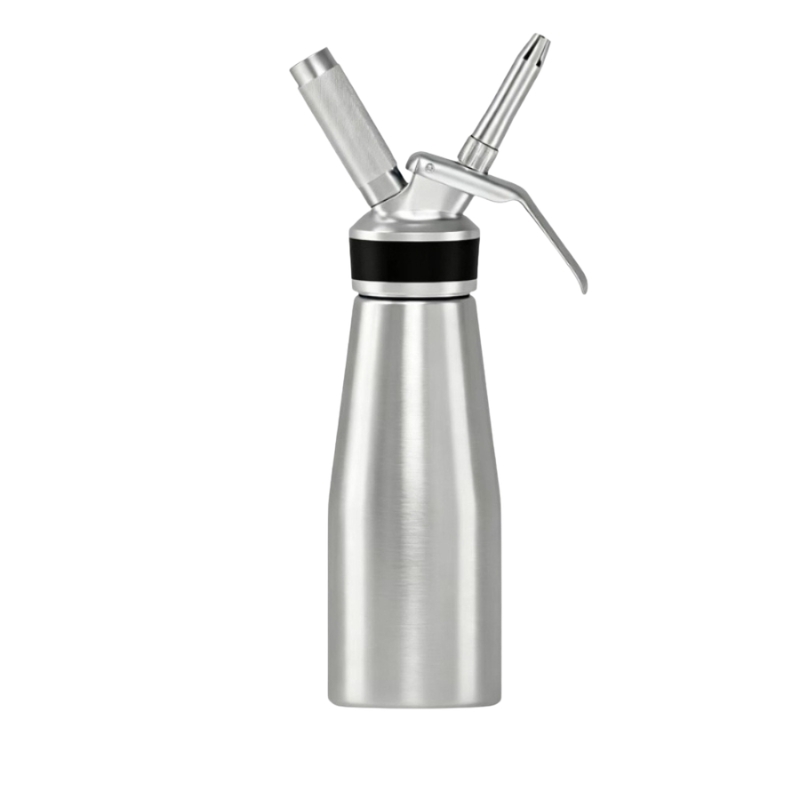

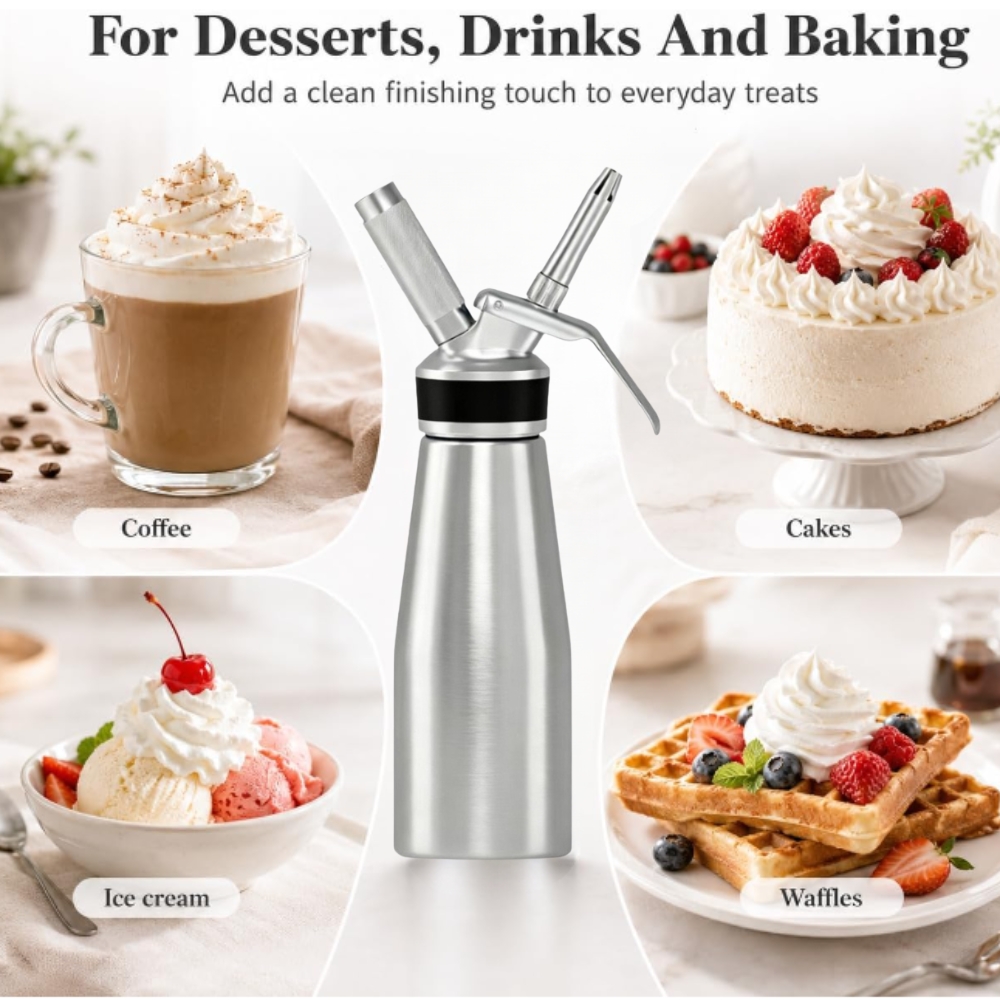




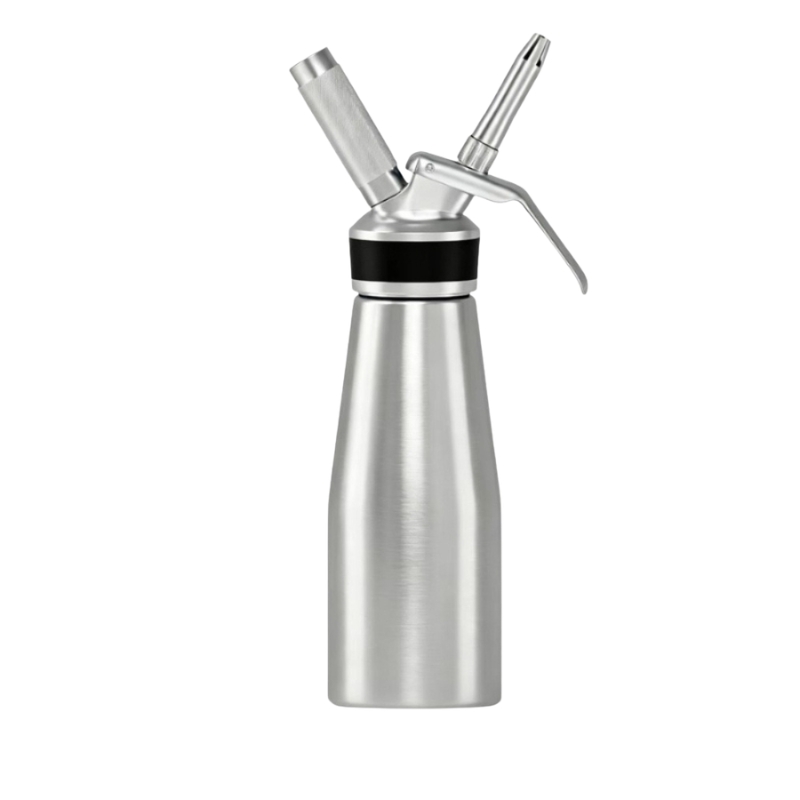





Aluminum Whipped Cream Dispenser 500ml /1 Pint Cream Whipper with 3 Stainless Steel & Brush, Create Perfect Desserts & Coffee Toppings, Leak-Free Whipped Cream Maker
-
Ships from US
-
30-Day Returns
-
2 to 5 Business Days
-
Secure payments

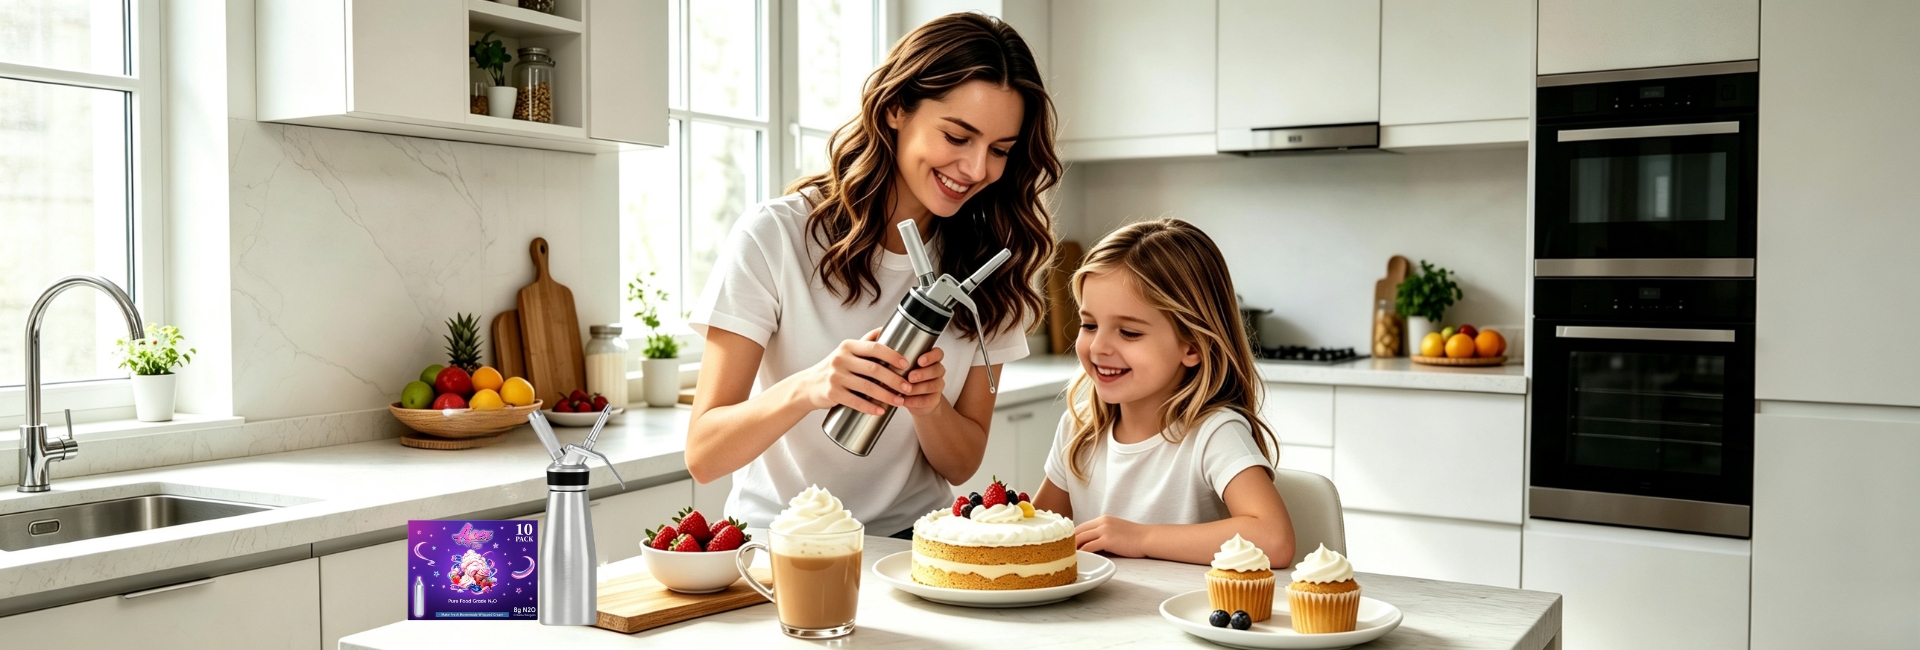
500ML Whipped Cream Dispenser
Compatible with all standard 8g N2O cream charger
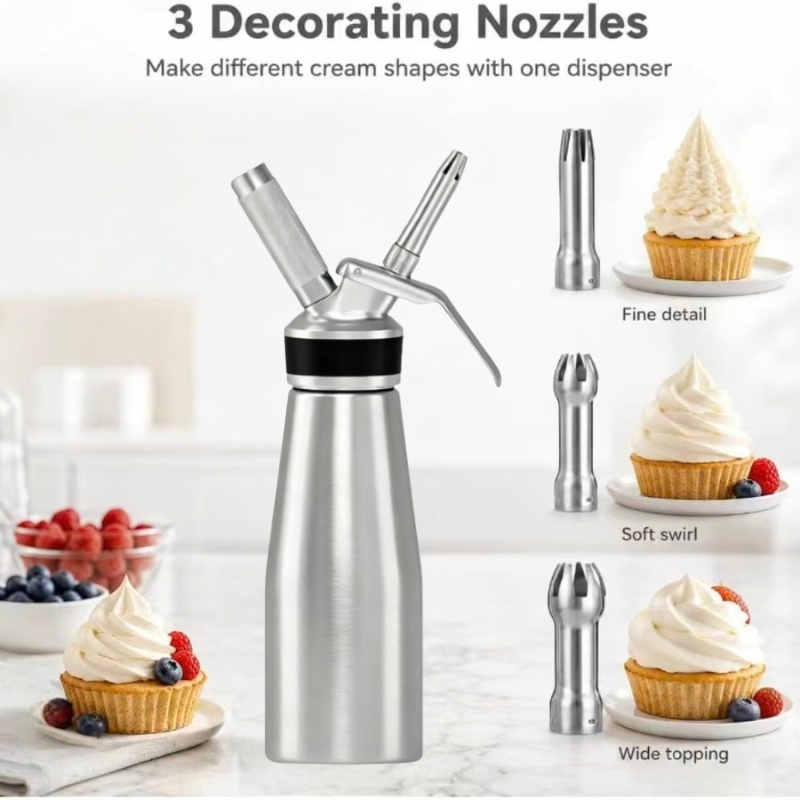
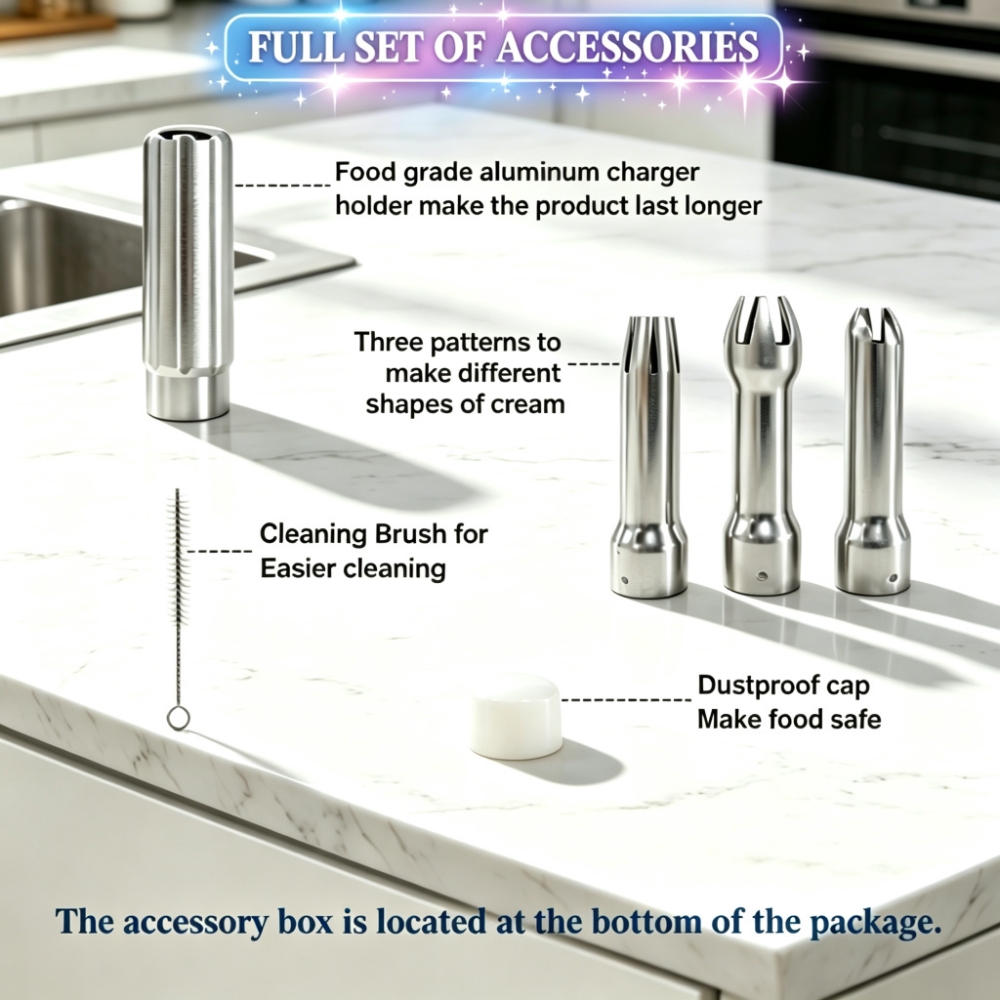
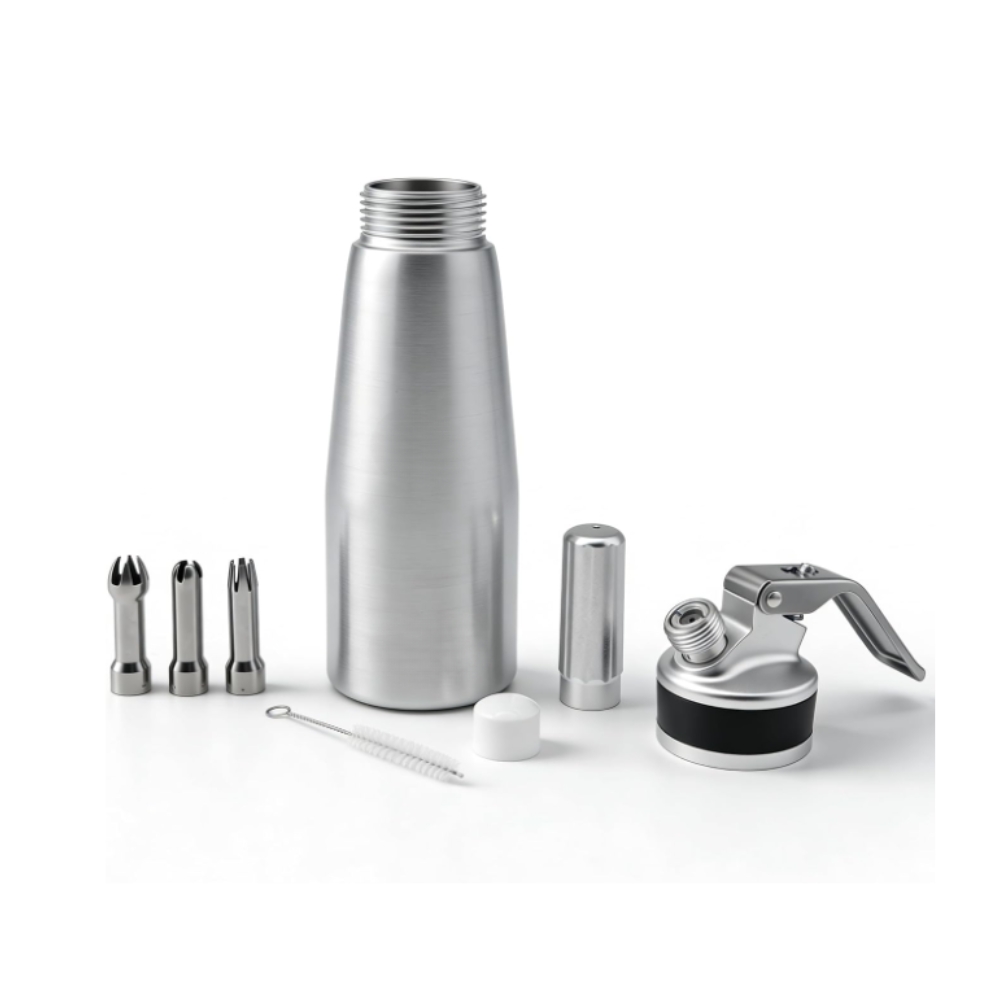
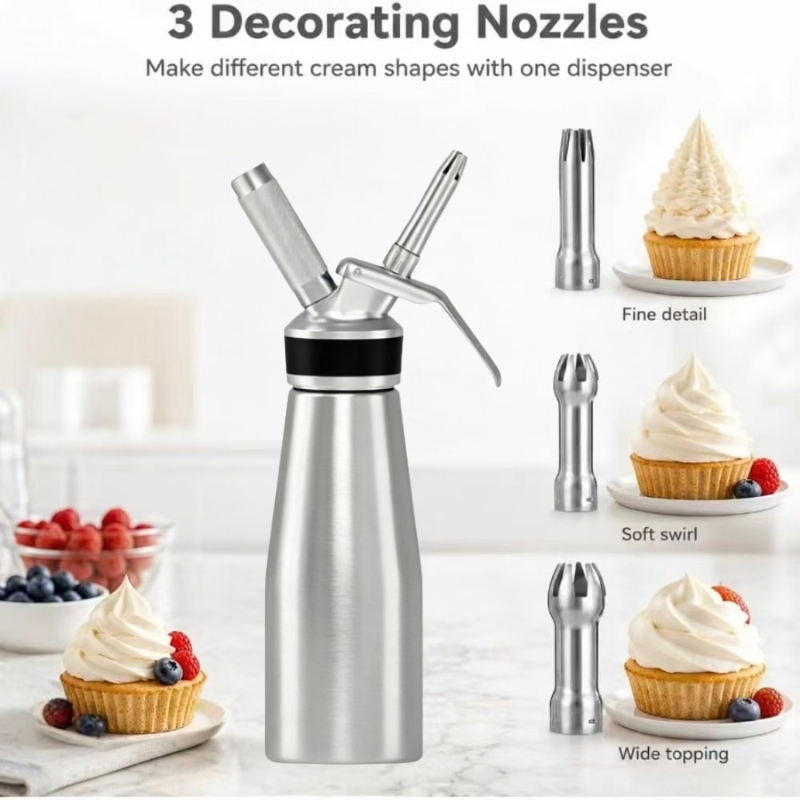
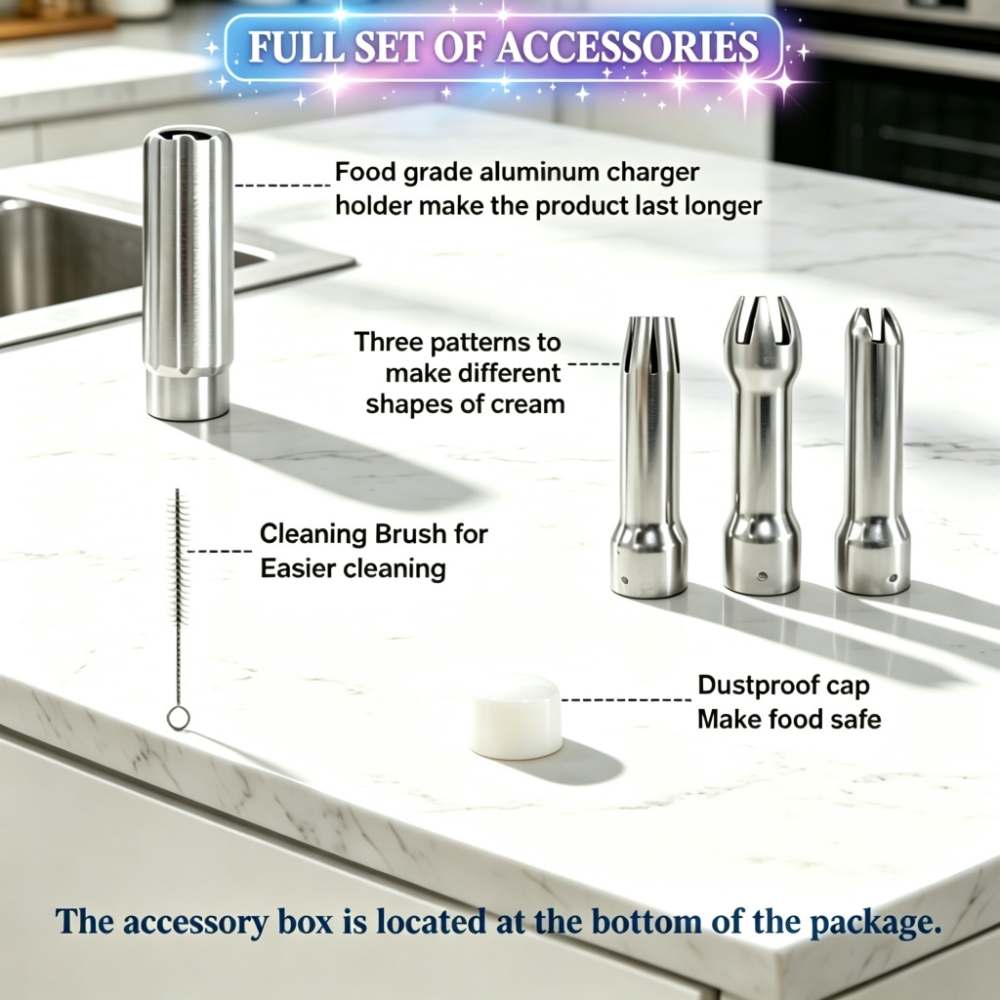
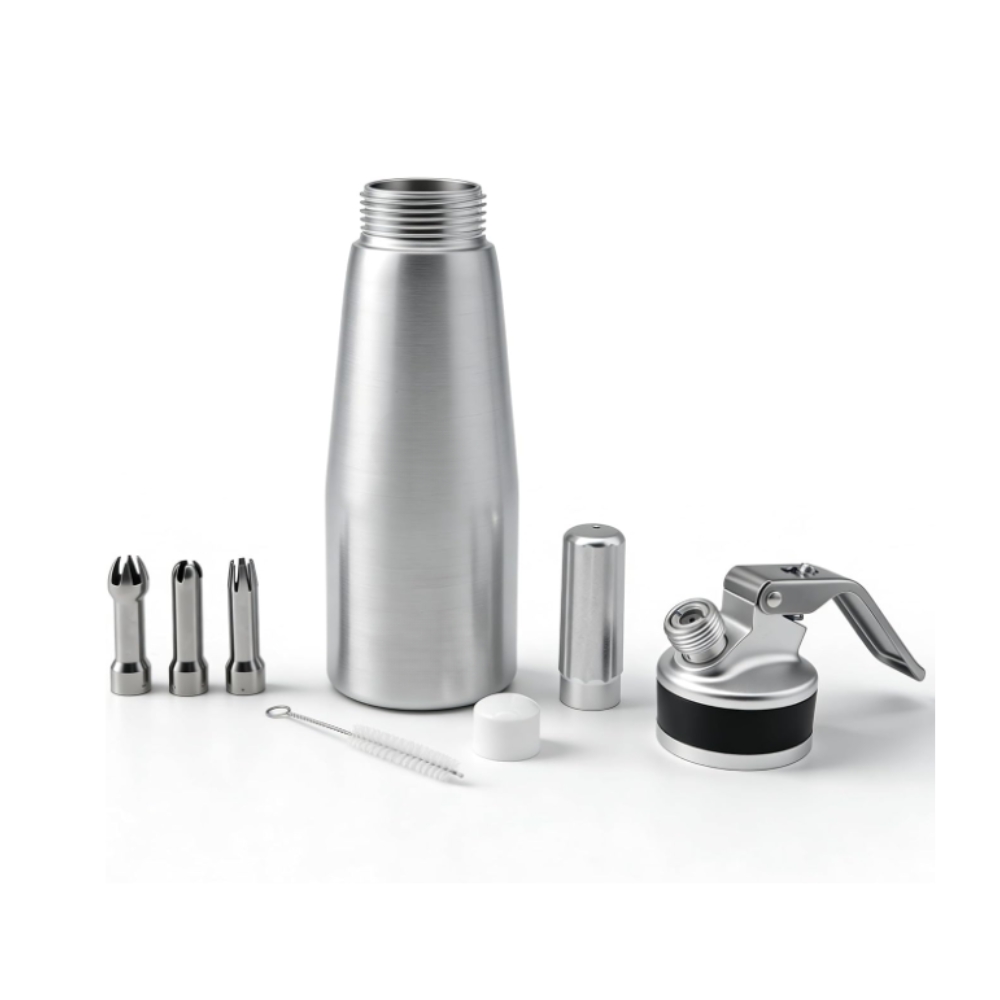
Package including 3 Stainless tips, 1 cleaning brush, 1 charger holder
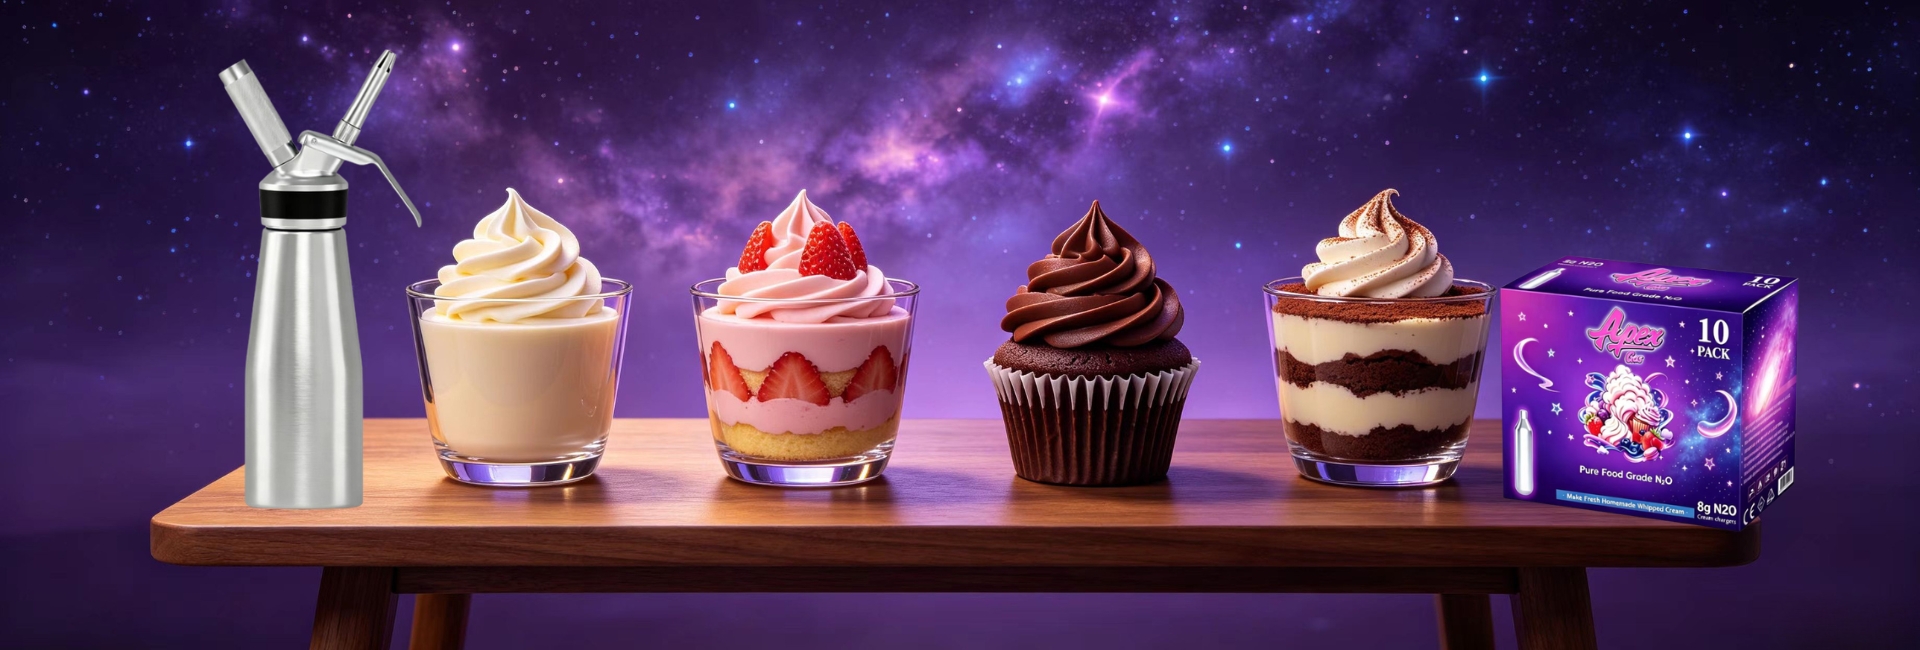
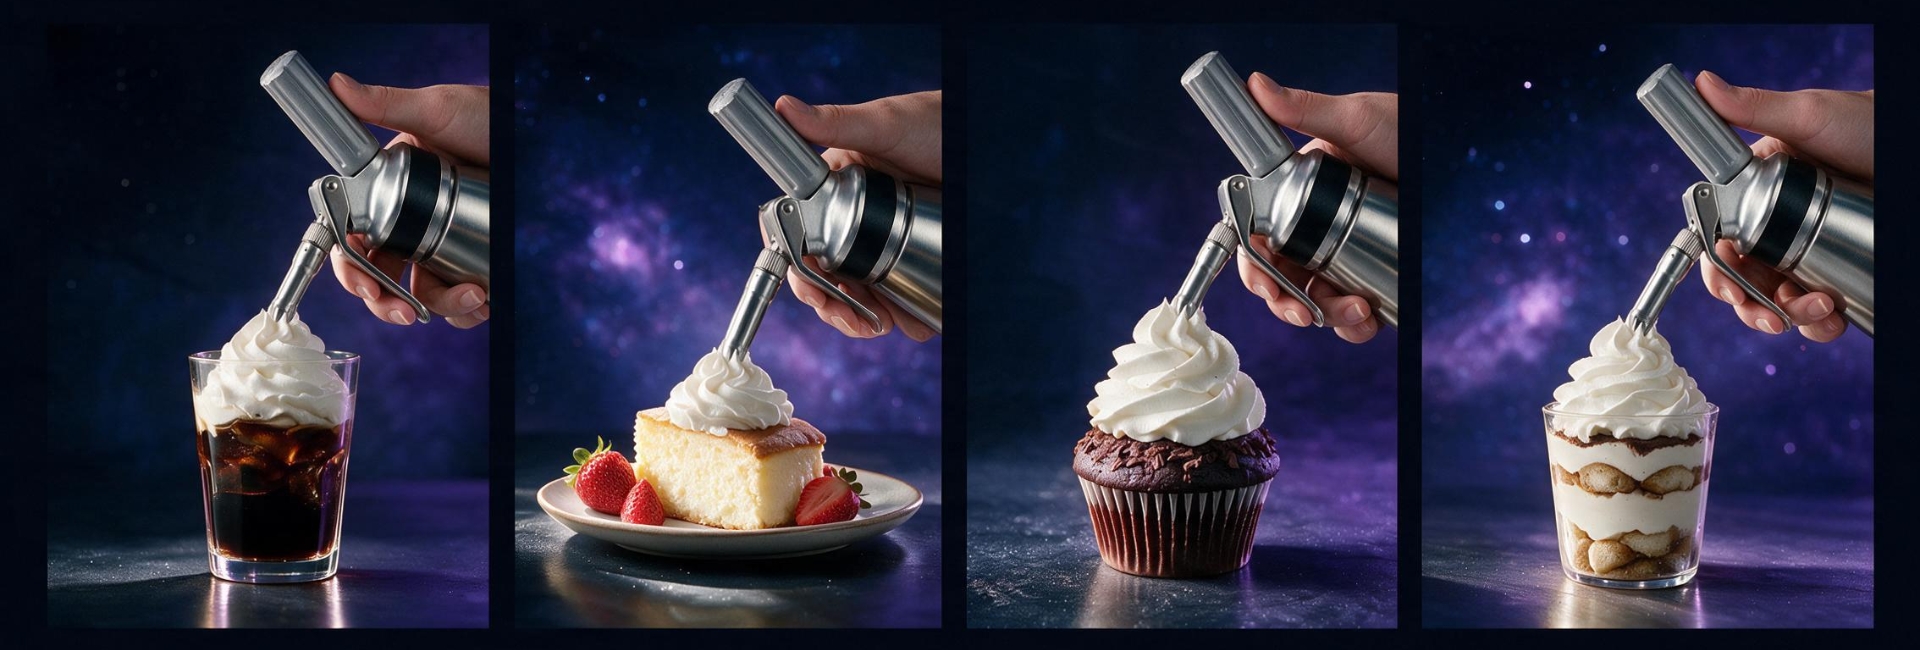
Instantly Become a Great Chef!

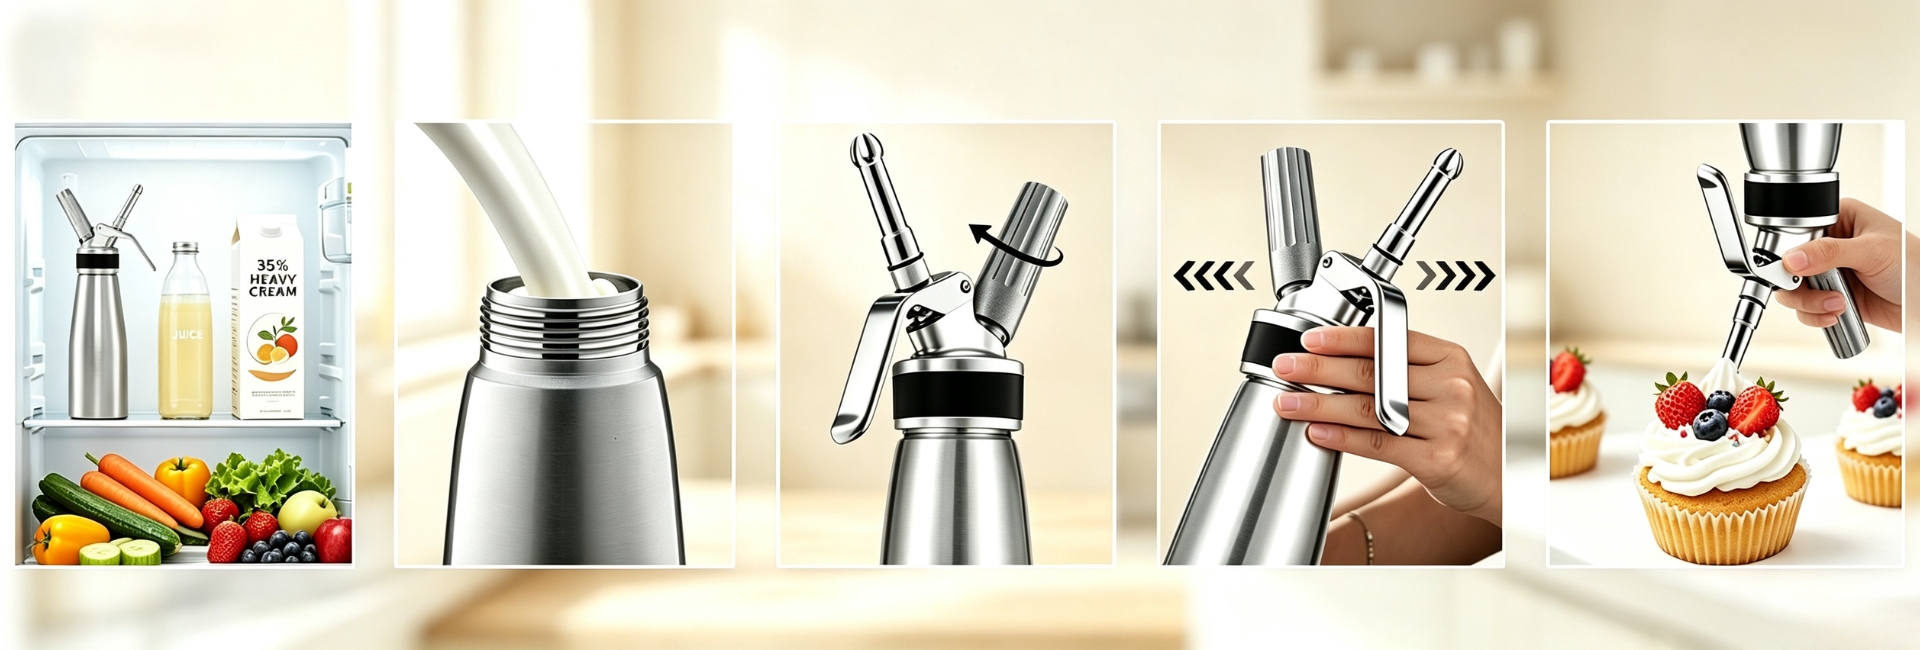
How to Use the Whipped Cream Depenser


Average answer time: 24h
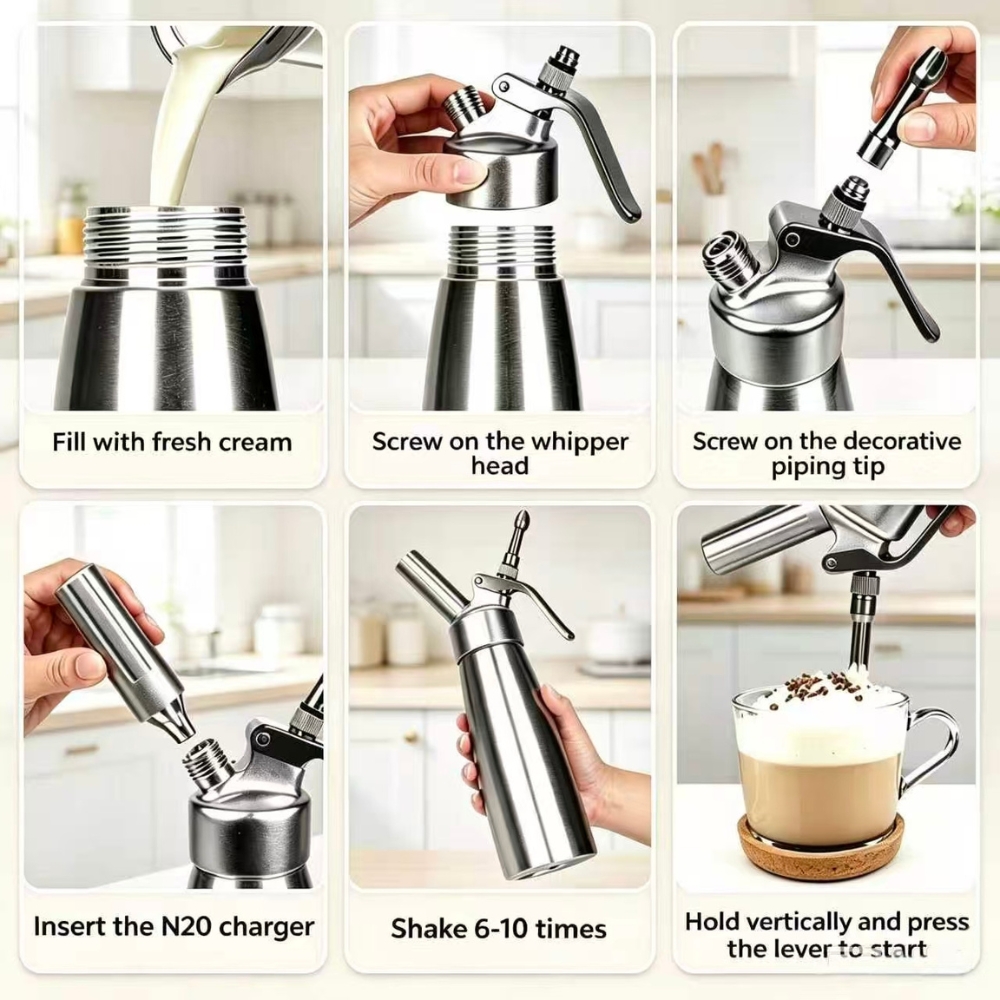
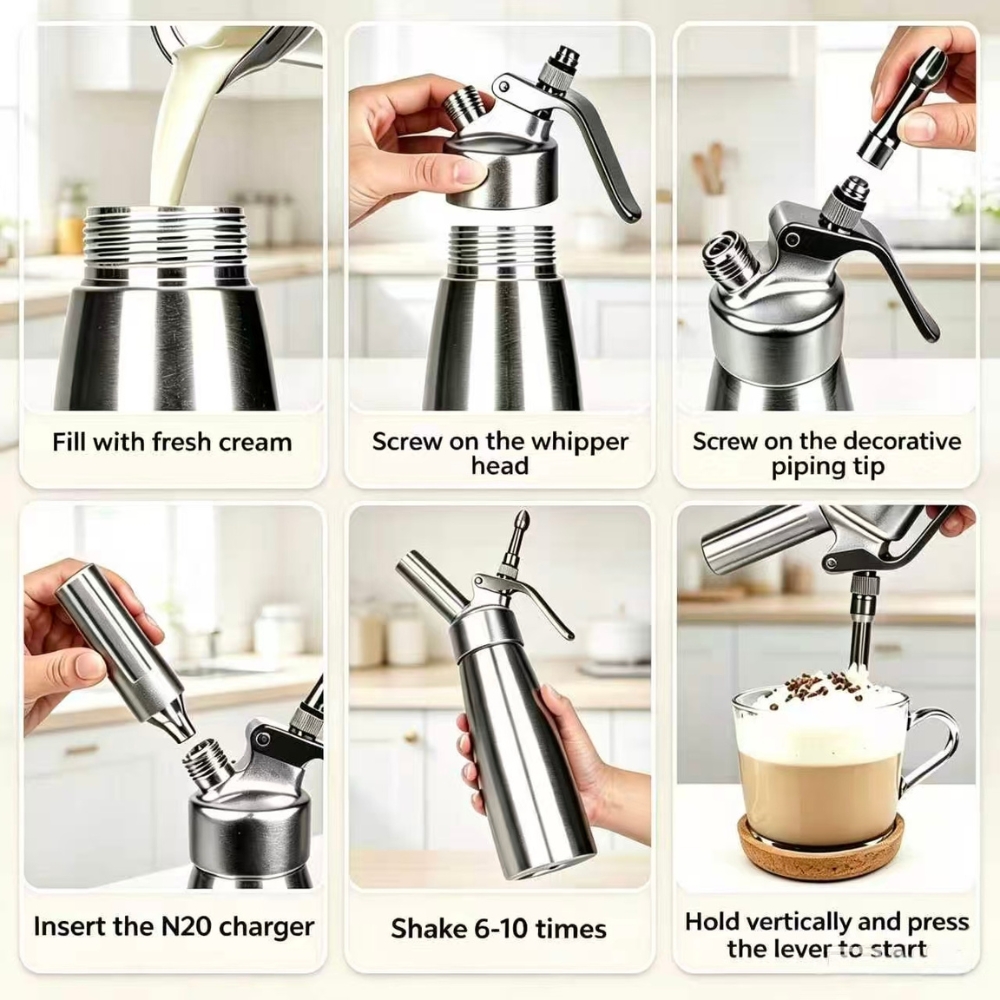
- Fill in fresh cream
Open the bottle cap and pour in the required amount of fresh cream, the maximum capacity is 500 ml, do not exceed the scale line. - Install the N₂O (not included)
Install the cream charger into the charger holder and align it with the threads of the inlet valve. Turn it until you hear a pricking sound from the charger. - Check and shaking
Check to make sure all screws are tight before shaking. With the machine facing downward, shake the dispenser up and down quickly for 30 seconds. - Press for dispensing
Then install the decorating tip you want and press the handle to make cream.
- A whipped cream dispenser uses nitrous oxide (N2O) gas. The gas is stored in a small canister called a charger.
- Our Our 8g Cream Chargers are our most popular option.
- When the charger is punctured, and the gas mixes with the liquid inside the dispenser, it pressurizes the contents and dissolves into the liquid. When released, the gas expands, whipping the liquid into a foam and creating whipped cream.
They allow for fresher and more customizable whipped cream.
They save time compared to manual whipping.
You can add flavorings or sweeteners to your cream.
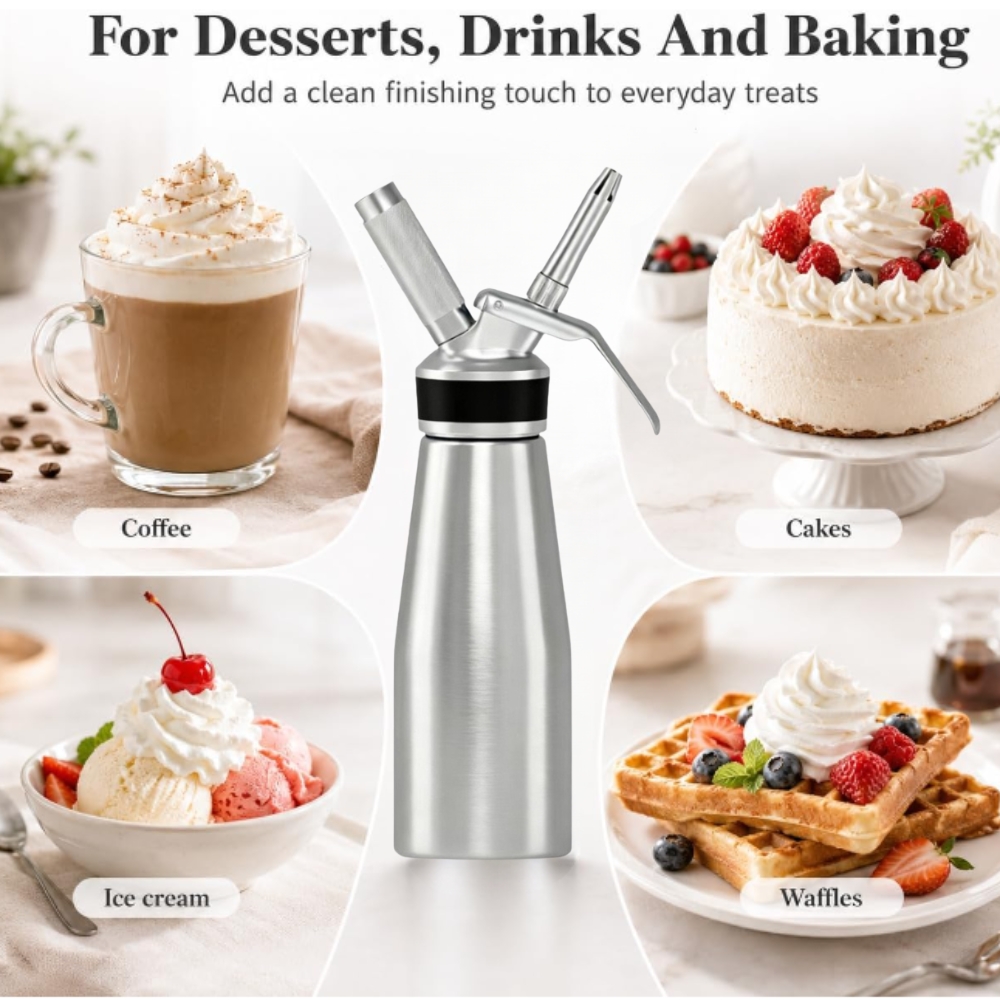
They produce consistent, restaurant-quality whipped cream at home.
You can create art with your culinary creations using precision nozzles.
-
Don't Overfill: Use no more than 2 cups (500ml) of cream for a 1 pint (0.5L) dispenser. Too much cream prevents the gas from circulating.
-
Shake More: Firmly shake 8 to 20 times after charging. Check consistency after 7 to 10 shakes, and continue shaking if it's not thick yet.
there are usually three main reasons for this:
-
over-shaking. shaking too vigorously or too many times can make the cream overly stiff. this makes it hard to dispense, leaving clumps stuck inside the canister and turning the remaining cream foamy. stick to the recommended 8-20 shakes.
-
clogged parts or residue. it's crucial to thoroughly clean the dispenser head after every single use. take apart the gasket, piston, and valve, and scrub them with a brush to ensure absolutely no residue is left behind. regular deep cleaning also prevents bad odors and keeps every preparation tasting fresh.
-
undissolved sweeteners. always use sweeteners that fully dissolve in cold cream, such as powdered sugar, syrups, honey, or liquid sweetener drops. make sure the sweetener is completely dissolved before you charge the dispenser with a gas cartridge; otherwise, undissolved grains can block the nozzle.
1. Release the pressure first. Press the lever to vent all leftover gas, then carefully unscrew the dispenser head.
2. Take apart the head: remove the gasket, piston and valve components.
3. Wash all detached small parts and the canister with warm soapy water. Do not wash the full head assembly with its internal spring still assembled.
4. Thoroughly rinse every part to get rid of cream residue.
5. Use a small brush to clean the valve and nozzle to prevent blockages.
6. Air‑dry or wipe all components completely dry before reassembling.
Important tips: Hand‑wash only. Do not use a dishwasher. Avoid boiling water on rubber gaskets to prevent deformation. Never reassemble while parts are still damp.