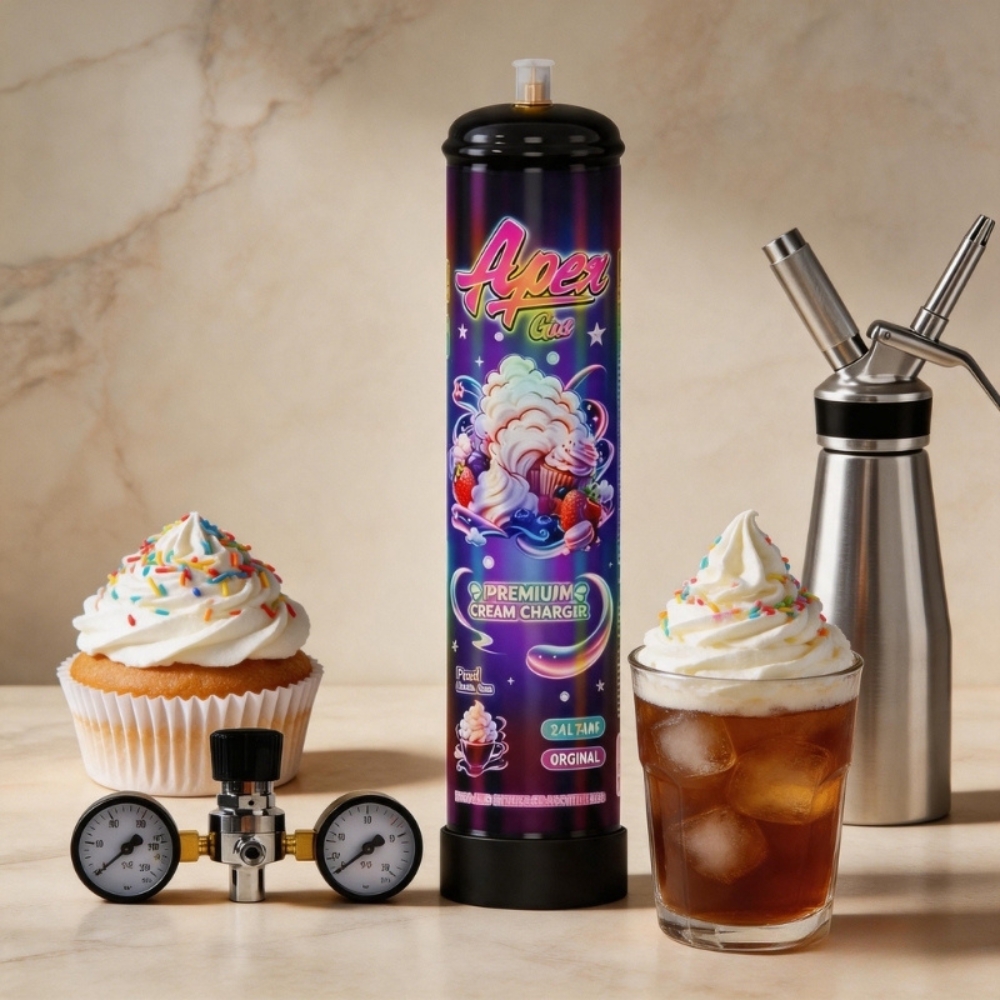
| If you've ever struggled with hand mixers, sore arms, or deflating whipped cream, it's time to meet your new kitchen best friend. A whipped cream dispenser is a simple, elegant tool that uses pressurized gas (N₂O) to turn liquid cream into a light, fluffy, and stable topping in seconds. Whether you're a home baker or a coffee enthusiast, this guide will walk you through the safe and easy process of using an ApexGas whipped cream dispenser. Let's get started! |
Chapter 1: The Science Behind It (What is a Dispenser & Why N₂O?)
A whipped cream dispenser is an aluminium or stainless steel device that relies on 8-gram gas bulbs to pressurize the canister, instantly dissolving the gas into the liquids. When the valve is opened by pressing the lever, the liquid is forced out of the nozzle by high pressure, expanding the bubbles instantly to transform the liquid into a whip, mousse, or foam. |
How does it make whipped cream?
To make whipped cream, you must use a thickening (whipping) cream with an optimal fat content between 27-36%. When charging the N₂O cream charger into the canister, the N₂O instantly dissolves into the fat. When the lever is pressed, it releases the pressure, causing the nitrous oxide to expand within the fat molecules. |
| 💡 The Magic Bonus: This is why making whipped cream with a dispenser creates 4x the amount compared to whipping air into the cream (which produces half as much)! |
|
Can you use any gas?
No. Only 8-gram nitrous oxide cream chargers (N₂O) should be used (or in extremely rare recipes, CO₂ bulbs). N₂O is used because it dissolves easily with the liquid, does not oxidize while in the canister, inhibits bacteria growth, and is completely odorless and tasteless. (Fun fact: N₂O bulbs can also be referred to as cream chargers, whippets, or nangs!)
|
| Chapter 2: The Ultimate Step-by-Step Guide (How to Use It) |
|
Step 1: Gather Your Materials
Before starting, make sure you have everything you need to ensure a smooth process:
-
✅ A clean whipped cream dispenser
-
✅ Heavy cream (chilled, fat content 27-36%)
-
✅ An ApexGas cream charger (8g N₂O)
-
✅ A small brush or cloth (optional, for cleaning)
|
|
Step 2: Open and Inspect Your Dispenser
-
Unscrew the Head: Hold the body of the dispenser firmly and twist the top head counterclockwise. Some models may have a locking mechanism; make sure it is unlocked.
-
Remove the Head: Carefully lift the head off, avoiding tilting the dispenser too much to prevent spills.
-
Check the Seal and Nozzle: Inspect the rubber gasket inside the head. Make sure it is clean and properly seated. Also, ensure the nozzle or tip is clean and free of residue. Tip: A clean seal prevents leaks and ensures smooth dispensing.
|
|
Step 3: Fill the Dispenser (Don’t Overfill!)
-
Pour your heavy cream into the dispenser. Do not exceed the maximum fill line, usually indicated on the side of the canister.
-
Leave about 1-2 inches of headspace (this is crucial for the gas to mix thoroughly).
-
Optional Flavoring: You can add sugar, vanilla, or other flavorings directly into the cream before sealing.
⚠️ Warning: Overfilling can cause the dispenser to clog or malfunction.
|
|
Step 4: Install the ApexGas Cream Charger
-
Insert the Charger: Some dispensers have a small holder on the head. Insert the cream charger into this holder with the narrow tip facing up.
-
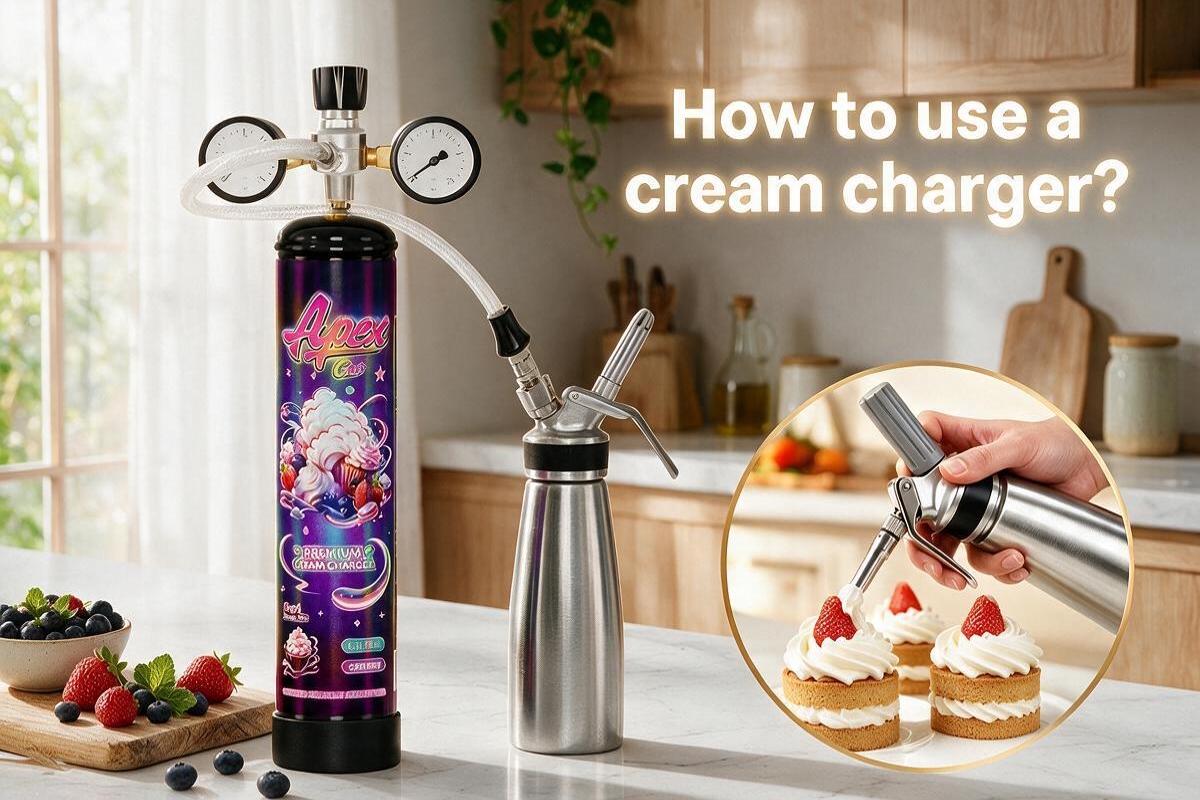
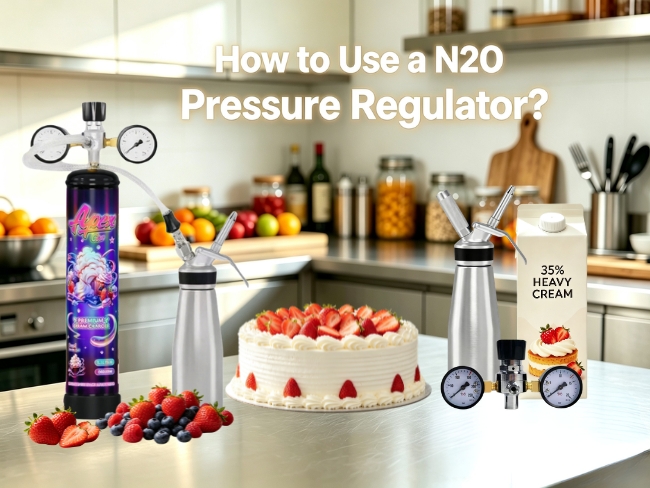
Screw the Holder: Twist the charger holder onto the dispenser head until you hear a distinct "hiss"—this is the gas being released into the cream. (Note: It is not uncommon to have a little gas escape during this process. If you are using a large cream charger, you will need a pressure regulator.)
-
Shake Well: Once the charger is pierced, shake the dispenser vigorously for about 15-30 times to mix the gas evenly with the cream.
⚠️ Safety Reminder: Never attempt to pierce the charger outside the dispenser. Always follow the manufacturer’s instructions.
|
|
Step 5: Reattach the Head, Check, and Dispense
-
Place the Head Back: Align the threads and screw the head back onto the dispenser body tightly, but not excessively.
-
Check for Leaks: Before dispensing, briefly invert the dispenser and press the lever to ensure the gas is properly infused and there are no leaks.
-
Enjoy: Hold the dispenser upright, aim at your dessert or drink, and press the lever gently. Enjoy fresh, fluffy whipped cream or foamed beverages instantly!
|
| |
|
Chapter 3: How to Clean and Maintain Your Dispenser (Crucial!)
Taking care of your dispenser ensures it lasts for years. Don’t put the head of your whipped cream dispenser into the dishwasher; we recommend washing it by hand.
-
Start by removing the tip and cartridge holder.
-
Turn the dispenser head over and remove the rubber or silicone gasket, then gently pull the head valve out. (Note: Some dispenser head valves cannot be removed. If you are not sure, give it a soft tug.)
-
Clean each of the parts separately with dish soap and water.
-
Take the head of the dispenser without parts and clean it with dish soap and water until clean.
-
Let all contents dry completely.
-
Reassemble them back into the head exactly as they were.
(Most whipped cream dispenser canisters are dishwasher safe, but if you’re not sure, we recommend washing it by hand to be safe.)
|
| |
| |
|
Final Thoughts: Why Choose ApexGas?
Using a whipped cream dispenser might look intimidating at first, but once you understand the science and follow these steps, you'll wonder how you ever lived without it. ApexGas cream chargers are filled with 99.9% pure food-grade N₂O, ensuring a consistent, fine texture with no oily residue or artificial aftertaste.
Ready to start creating? Shop our ApexGas cream chargers and dispensers today, and elevate your desserts to new heights!
|